
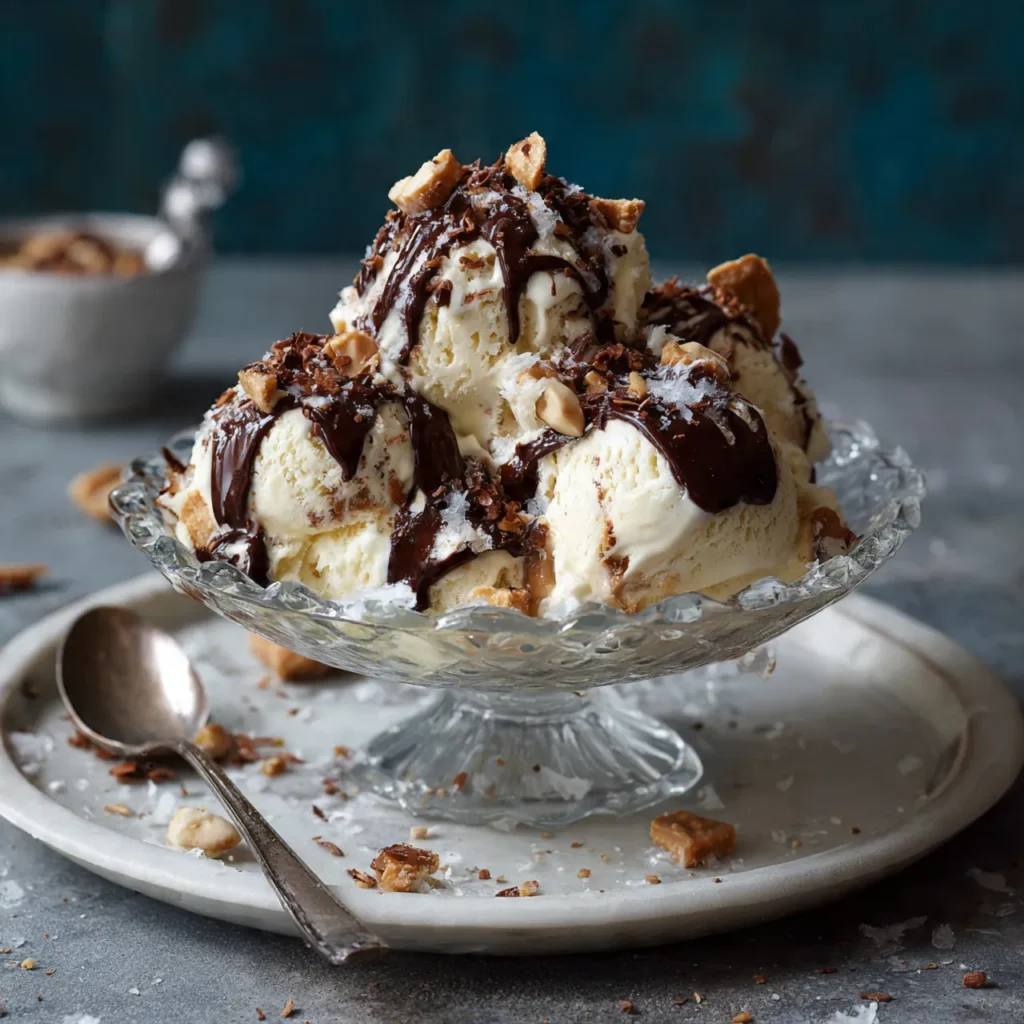
Welcome to a true comfort and crunch classic. The Hokey Pokey Ice Cream Recipe is a classic that achieves the perfect balance of delicious texture and creamy smoothness. The thick, velvety vanilla ice cream in this beloved classic is heavily studded with golden honeycomb toffee, which breaks delicately with every bite. It is widely known and loved throughout New Zealand.
The beautiful contrast between cold, creamy ice cream and crisp honeycomb, along with the deep caramelized flavor of the toffee, makes this dessert completely unforgettable.
This recipe for Hokey Pokey Ice Cream Recipe is a must-try if you enjoy making your own ice cream and trying out traditional flavors from around the world. This recipe produces a high-quality, bakery-style dessert in your home kitchen using basic pantry ingredients and no complex cooking methods.
Whether you’re serving it at a summer gathering, enjoying it as a weekend treat, or adding a unique recipe to your food blog, Hokey Pokey Ice Cream never fails to impress.
What Is the Hokey Pokey Ice Cream Recipe?
Hokey Pokey Ice Cream Recipe originates from New Zealand and is considered one of the country’s most iconic desserts. The name “Hokey Pokey” refers to the crunchy honeycomb toffee mixed throughout the ice cream.
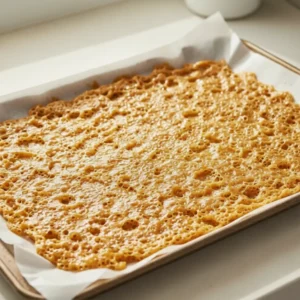
This honeycomb is created by heating sugar and syrup and then adding baking soda, which causes the mixture to foam and set into a light, airy structure.
Once cooled and broken into pieces, the honeycomb is folded into vanilla ice cream, creating a delightful contrast between cold, creamy ice cream and crisp, caramelized candy.
Unlike many ice cream flavors that rely heavily on chocolate or fruit, Hokey Pokey Ice Cream shines through simplicity. The vanilla base allows the honeycomb flavor to stand out while providing just enough sweetness to balance the caramel notes.
Why You’ll Love This Hokey Pokey Ice Cream Recipe
There are a ton of reasons to adore this recipe:
- Uses simple, everyday ingredients
- No eggs required (eggless and beginner-friendly)
- can be prepared using an ice cream maker or not.
- Offers incredible texture contrast
- Authentic New Zealand-style flavor
- Perfect for summer desserts, parties, or special occasions
This recipe also adapts beautifully to creative variations, making it a great base for experimentation.
Taste and Texture Profile
Hokey Pokey Ice Cream is all about balance.
The vanilla ice cream base is smooth, creamy, and lightly sweet with a clean dairy flavor. It melts softly on the tongue without being heavy or overly rich.
The honeycomb toffee adds bursts of caramel flavor and a light crunch. When frozen into the ice cream, it creates tiny crackling pieces that soften slightly as the ice cream melts, releasing deep toffee notes.
Together, the combination creates a dessert that is indulgent yet refreshing.
Ingredients Overview
This recipe is divided into two main parts: the honeycomb (hokey pokey) and the ice cream base.
Ingredients for Honeycomb
- ½ cup granulated sugar
- 2 tablespoons golden syrup
- Substitute: light corn syrup or honey
- 1½ teaspoons baking soda
Ingredients for Vanilla Ice Cream Base
- 2 cups heavy cream chilled
- 1 cup whole milk
- ¾ cup granulated sugar
- 1 tablespoon vanilla extract
- Pinch of salt
These ingredients work together to create a rich but balanced ice cream base that highlights the honeycomb flavor without overpowering it.
Equipment Needed
You don’t need any fancy tools to make Hokey Pokey Ice Cream, but having the right equipment makes the process smoother:
- Heavy-bottomed saucepan
- Wooden spoon or heatproof spatula
- Baking tray
- Parchment paper
- Mixing bowls
- Whisk
- Ice cream maker
- Airtight freezer-safe container
How to Make Hokey Pokey Ice Cream Recipe
Step 1: Prepare the Honeycomb Toffee
Begin by lining a baking tray with parchment paper and setting it aside.
Add the sugar and golden syrup to a heavy-bottomed saucepan. Place the pan over medium heat and stir gently until the sugar dissolves completely. After dissolving, cease stirring and bring the mixture to a boil.
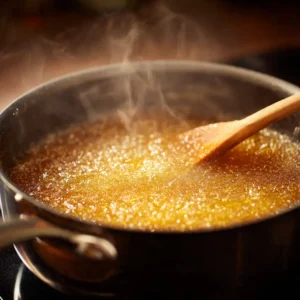
Let the syrup boil until it turns a deep golden color. This usually takes about 3–5 minutes. Watch carefully, as caramel can burn quickly.
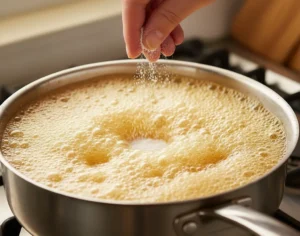
Take the saucepan off of the burner and add the baking soda right away. Whisk or stir quickly. The mixture will foam up rapidly and expand in volume—this is what creates the honeycomb texture.
Pour the foaming mixture onto the baking tray that has been prepared right away. Do not spread or flatten it. Allow it to cool completely at room temperature.
Once cooled and hardened, break the honeycomb into small bite-sized chunks. Set aside until ready to use.
Step 2: Make the Vanilla Ice Cream Base
In a large mixing bowl, combine the heavy cream, whole milk, sugar, vanilla extract, and salt.
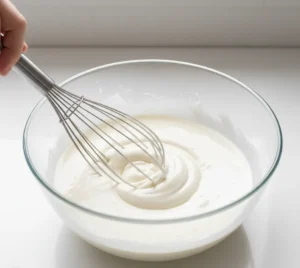
Until the sugar is completely dissolved, whisk the mixture. This may take a few minutes, but ensures a smooth ice cream texture.
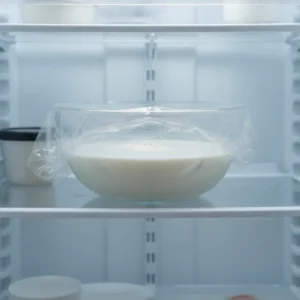
Cover the bowl and refrigerate the mixture for at least one hour, or until thoroughly chilled. Chilling improves the final texture of the ice cream.
Step 3: Churn the Ice Cream
Using an Ice Cream Maker:
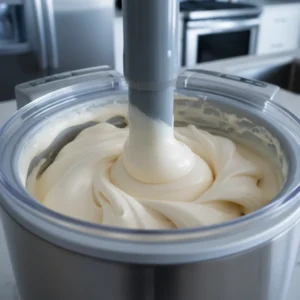
As directed by the manufacturer, pour the chilled ice cream base into your ice cream maker and churn. The ice cream should reach a soft-serve consistency.
Without an Ice Cream Maker:
The heavy cream should be whipped separately until soft peaks form. Combine the milk, sugar, vanilla, and salt in a separate bowl. The whipped cream should be gently folded into the milk mixture until it is completely incorporated.
Step 4: Add the Honeycomb
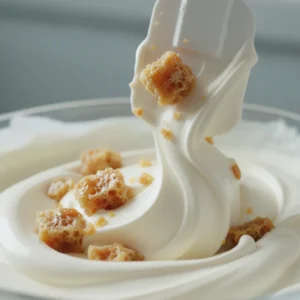
Once the ice cream reaches a soft, creamy texture, gently fold in the honeycomb pieces.
Work quickly to prevent melting and avoid overmixing, which can break down the honeycomb.
Step 5: Freeze Until Firm
Place the ice cream in a freezer-safe container that is airtight. Cover tightly and smooth the top.
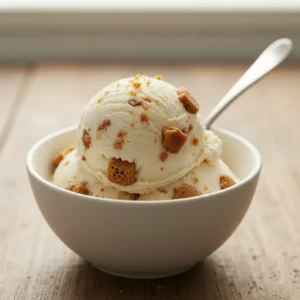
Freeze until solid enough to scoop, about 4 to 6 hours.
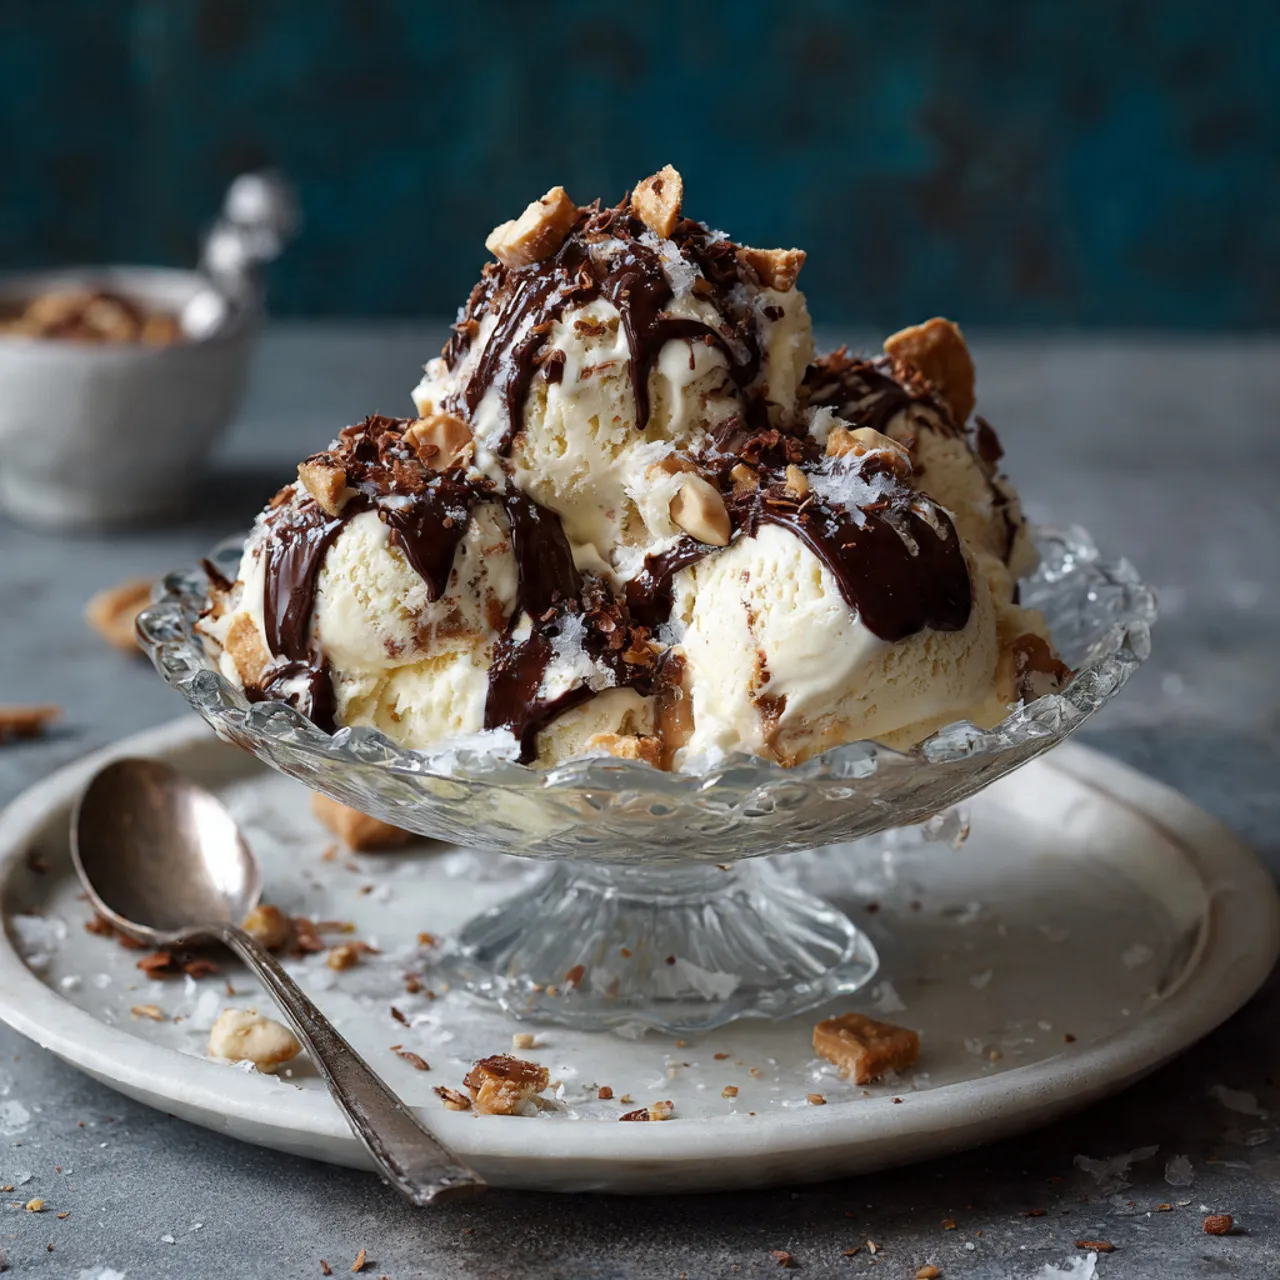
Hokey Pokey Ice Cream Recipe
Ingredients
Equipment
Method
- How to Make Hokey Pokey Ice Cream Recipe
- Begin by lining a baking tray with parchment paper and setting it aside.
- Add the sugar and golden syrup to a heavy-bottomed saucepan. Place the pan over medium heat and stir gently until the sugar dissolves completely. After dissolving, cease stirring and bring the mixture to a boil.
- Let the syrup boil until it turns a deep golden color. This usually takes about 3–5 minutes. Watch carefully, as caramel can burn quickly.
- Take the saucepan off of the burner and add the baking soda right away. Whisk or stir quickly. The mixture will foam up rapidly and expand in volume—this is what creates the honeycomb texture.
- Pour the foaming mixture onto the baking tray that has been prepared right away. Do not spread or flatten it. Allow it to cool completely at room temperature.
- Once cooled and hardened, break the honeycomb into small bite-sized chunks. Set aside until ready to use.
- In a large mixing bowl, combine the heavy cream, whole milk, sugar, vanilla extract, and salt.
- Until the sugar is completely dissolved, whisk the mixture. This may take a few minutes, but ensures a smooth ice cream texture.
- Cover the bowl and refrigerate the mixture for at least one hour, or until thoroughly chilled. Chilling improves the final texture of the ice cream.
- Using an Ice Cream Maker:
- As directed by the manufacturer, pour the chilled ice cream base into your ice cream maker and churn. The ice cream should reach a soft-serve consistency.
- Without an Ice Cream Maker:
- The heavy cream should be whipped separately until soft peaks form. Combine the milk, sugar, vanilla, and salt in a separate bowl. The whipped cream should be gently folded into the milk mixture until it is completely incorporated.
- Once the ice cream reaches a soft, creamy texture, gently fold in the honeycomb pieces.
- Work quickly to prevent melting and avoid overmixing, which can break down the honeycomb.
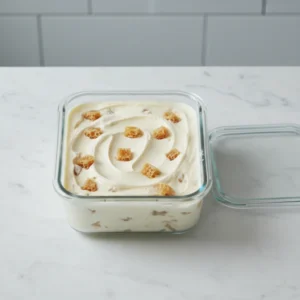
- Place the ice cream in a freezer-safe container that is airtight. Cover tightly and smooth the top.
- Freeze until solid enough to scoop, about 4 to 6 hours.
Notes
- Add the honeycomb to the ice cream just before freezing to keep it crunchy.
- Store extra honeycomb in an airtight container to prevent it from becoming sticky.
- Golden syrup gives the most authentic flavor, but light corn syrup or honey works well, too.
- Allow the ice cream to sit at room temperature for 5 minutes before scooping for the best texture.
- For longer storage, press parchment paper directly onto the surface before sealing the container.
Tips for Perfect Hokey Pokey Ice Cream Recipe
- Always add honeycomb at the final stage to preserve its crunch
- Store extra honeycomb separately in an airtight container
- Use golden syrup for the most authentic flavor
- Avoid humid environments when making honeycomb
- Slightly larger honeycomb pieces hold texture better
Common Mistakes to Avoid
- Stirring the caramel after it starts boiling
- Overcooking the sugar, which can make it bitter
- Adding honeycomb too early in the churning process
- Storing honeycomb uncovered, causing it to absorb moisture
Serving Suggestions
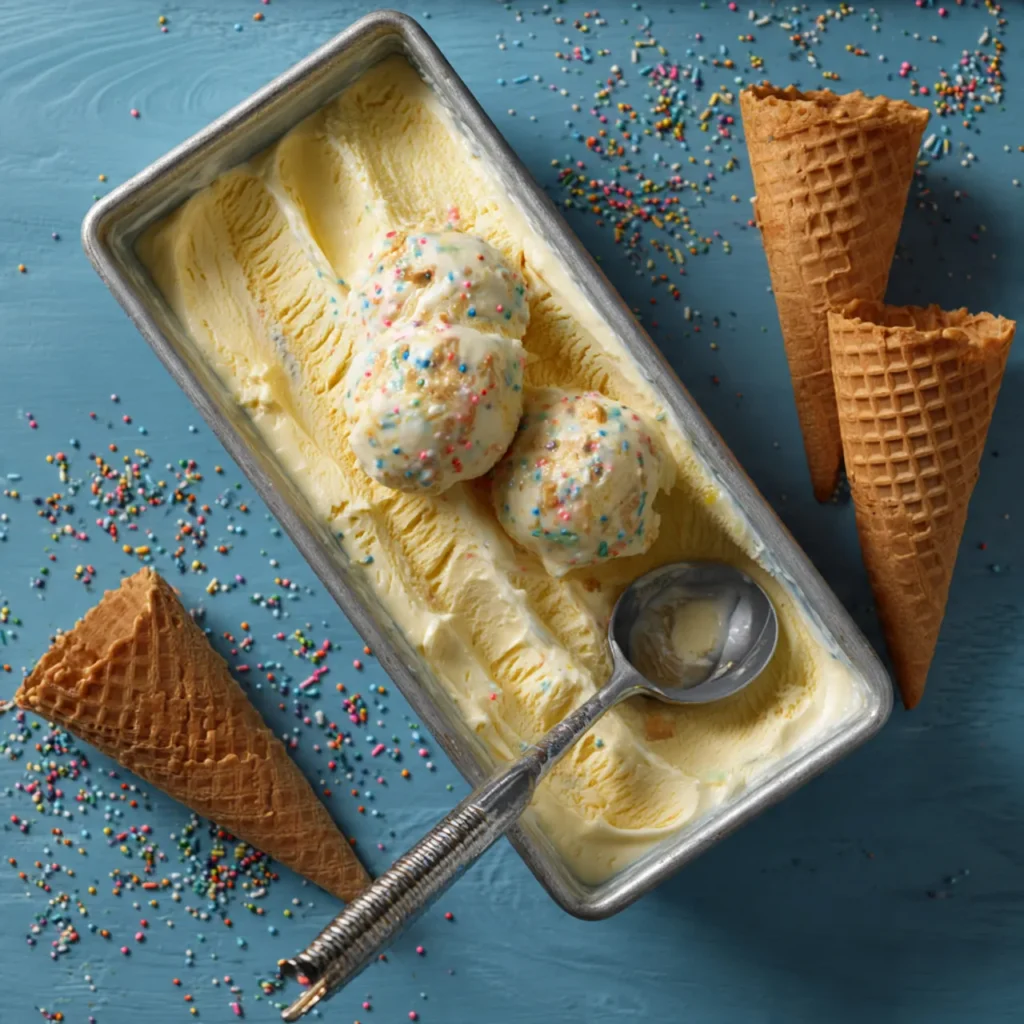
- Serve in waffle cones for added crunch
- Pair with warm brownies or chocolate cake
- Top with extra honeycomb pieces
- Drizzle with caramel or chocolate sauce
- Serve alongside fresh berries
Storage Instructions
StoreHokey Pokey Ice Cream Recipe in an airtight container in the freezer.
Eat within five to seven days for optimal flavor and texture. Over time, the honeycomb may soften due to moisture absorption.
Nutrition Overview
- Calories: 280–320 per serving
- Fat: 18g
- Carbohydrates: 32g
- Sugar: 28g
- Protein: 4g
Frequently Asked Questions
Can I make the Hokey Pokey Ice Cream Recipe without golden syrup?
Yes, light corn syrup or honey works well as a substitute.
Why did my honeycomb collapse?
This usually happens if the baking soda isn’t mixed quickly or the caramel is undercooked.
Can I use store-bought honeycomb?
Absolutely. Chop it into small chunks and fold it in before freezing.
How do I keep the honeycomb crunchy?
Add it at the final mixing stage and store ice cream airtight.
Final Thoughts
Hokey Pokey Ice Cream Recipe is proof that simple ingredients can create extraordinary results. The creamy vanilla base paired with crunchy honeycomb toffee delivers a dessert that’s nostalgic, comforting, and completely addictive.
Whether you’re recreating a classic New Zealand favorite or introducing something new to your audience, this Hokey Pokey Ice Cream recipe deserves a spot in your dessert collection. With its irresistible texture, rich flavor, and endless variations, it’s guaranteed to become a repeat favorite.
You will also like the Death by Chocolate Ice Cream Recipe
