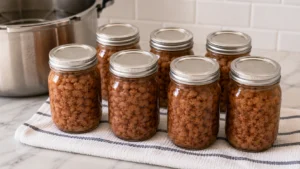
Prep Time: 20 mins | Cook Time: 135 mins | Servings: 14 (½-cup servings)
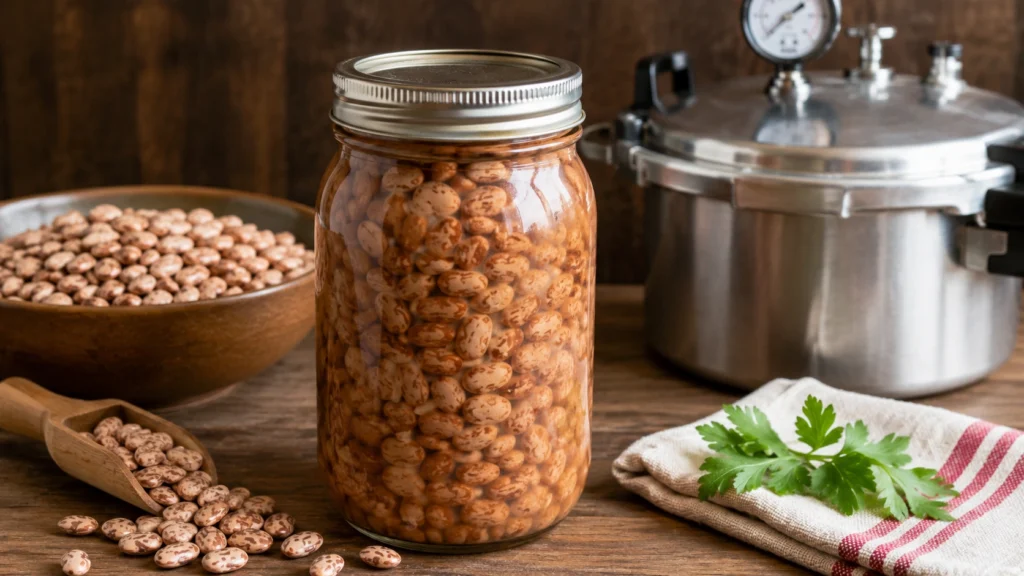
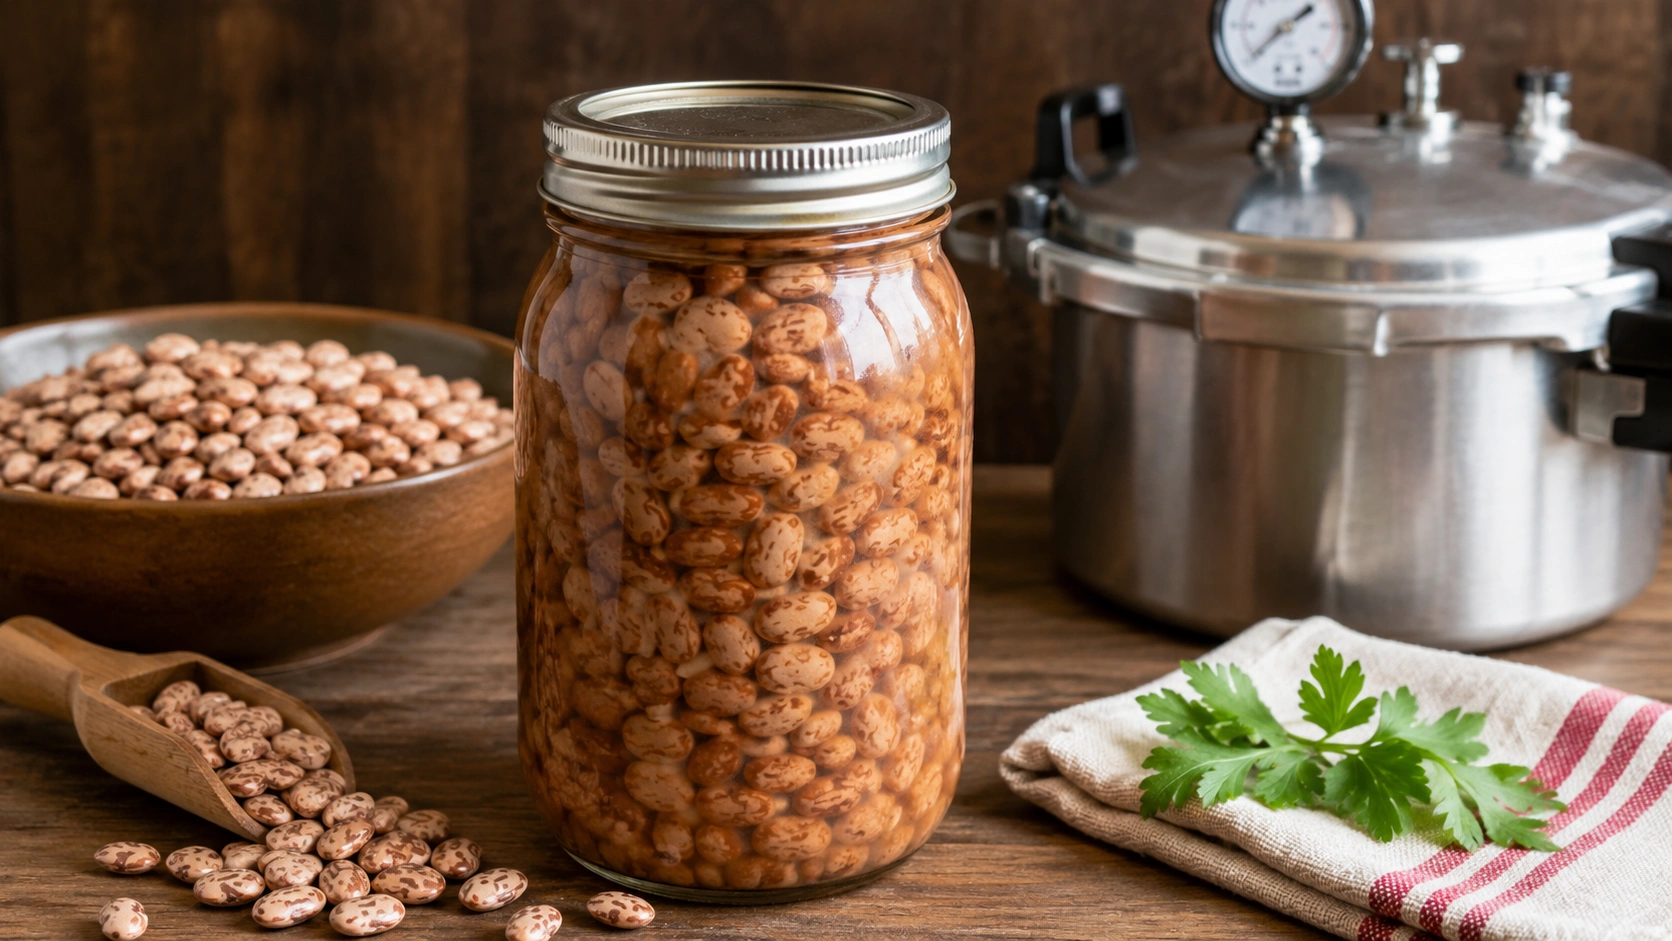
If you’re looking for a reliable Canning Pinto Beans Recipe, you’ve come to the right place. Pinto beans are a pantry staple that can be used in soups, stews, burritos, chili, salads, and countless other recipes. Canning your own pinto beans at home is a practical way to save time, reduce food waste, and always have ready-to-use beans on hand. Properly canned beans maintain their flavor and texture for months while eliminating the need for soaking and cooking every time you need them.
Since pinto beans are a low-acid food, they must be pressure canned to ensure they are safe to eat. Water bath canning is not safe for beans because it cannot reach the temperature required to destroy harmful bacteria. By following a safe and tested canning method, you can enjoy delicious, homemade canned pinto beans that are ready whenever you need them.
Why Can Your Own Pinto Beans?
Home-canned pinto beans offer several benefits:
- Convenient for quick weeknight meals.
- More affordable than buying canned beans.
- Free from unnecessary preservatives and additives.
- You control the amount of salt used.
- Long shelf life when stored correctly.
Equipment You’ll Need
Before getting started, gather the following:
- Pressure canner
- Pint or quart canning jars
- New canning lids and bands
- Jar lifter
- Canning funnel
- Bubble remover or plastic spatula
- Large stockpot
- Clean towels
Ingredients
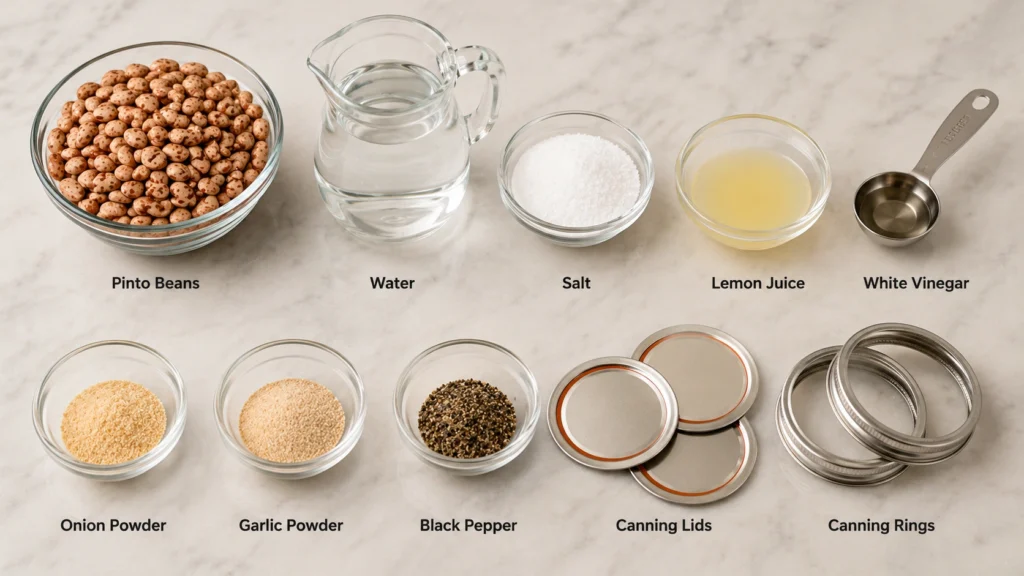
- 2 to 3 pounds dried pinto beans
- Water
- Canning salt (optional)
How to Make Canning Pinto Beans Recipe
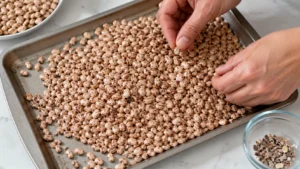
Step 1: Sort and Wash the Beans
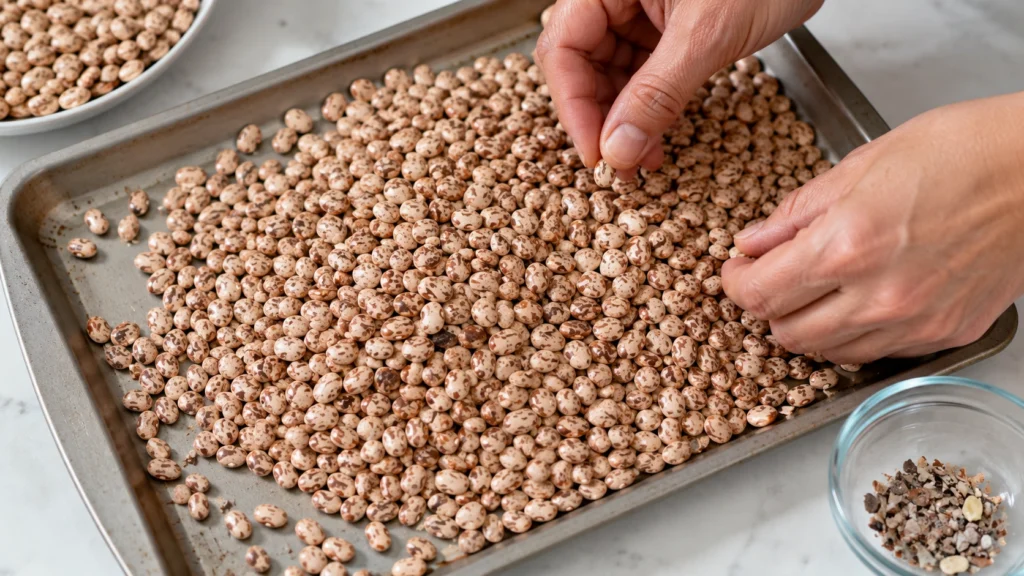
Spread the dried beans on a tray and remove any stones, damaged beans, or debris. Rinse the beans thoroughly under cold running water until the water runs clear.
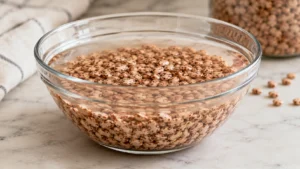
Step 2: Soak the Beans
Choose one of these soaking methods.
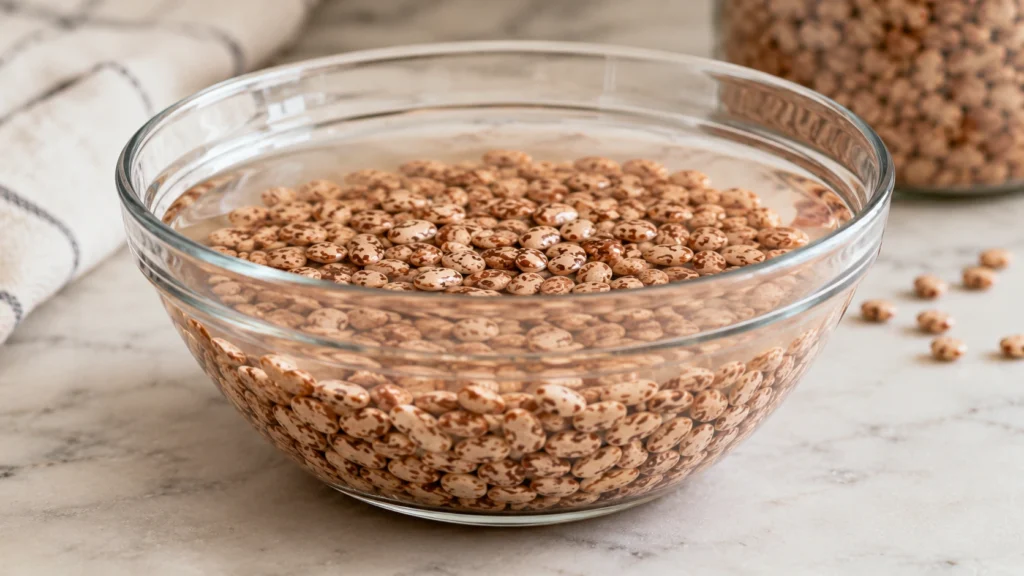
Overnight Soak
Cover the beans with plenty of water and let them soak for 12 to 18 hours. Drain and rinse before cooking.
Quick Soak
Place the beans in a large pot and cover with water. Bring to a boil for 2 minutes, remove from the heat, cover, and let stand for 1 hour. Drain and rinse.
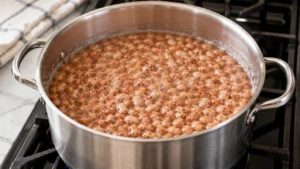
Step 3: Partially Cook the Beans
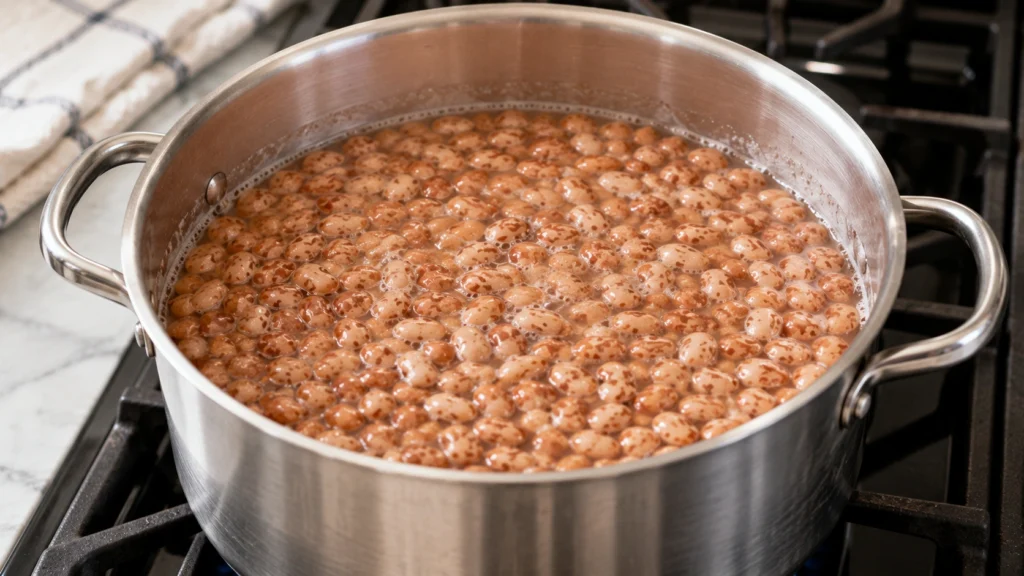
Return the soaked beans to a pot and cover with fresh water.
Bring to a gentle boil and simmer for 30 minutes. Do not fully cook the beans, as they will continue cooking during the pressure canning process.
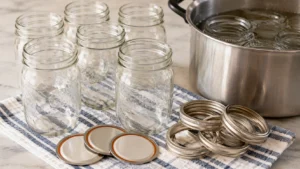
Step 4: Prepare the Jars
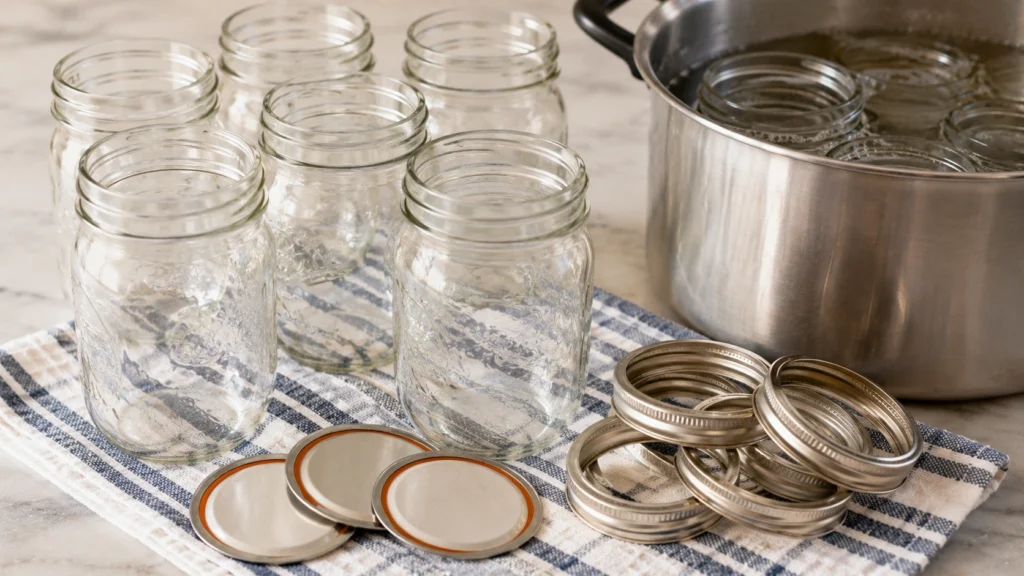
Wash the jars in hot, soapy water and rinse well. Keep them warm until ready to fill.
Simmer the lids according to the manufacturer’s instructions if required.
Step 5: Fill the Jars
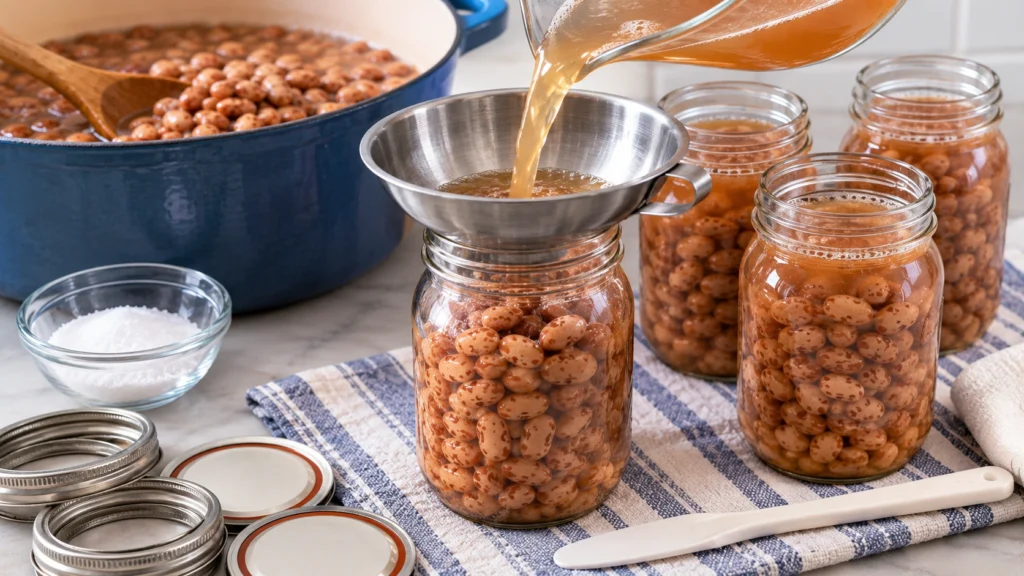
Using a funnel, fill each jar with the partially cooked beans.
Leave about 1 inch of headspace.
Pour the hot cooking liquid over the beans, maintaining the same 1-inch headspace.
If desired, add:
- ½ teaspoon canning salt to pint jars
- 1 teaspoon canning salt to quart jars
Remove trapped air bubbles using a bubble remover or plastic utensil.
Wipe the jar rims with a clean damp cloth and apply the lids and bands until fingertip tight.
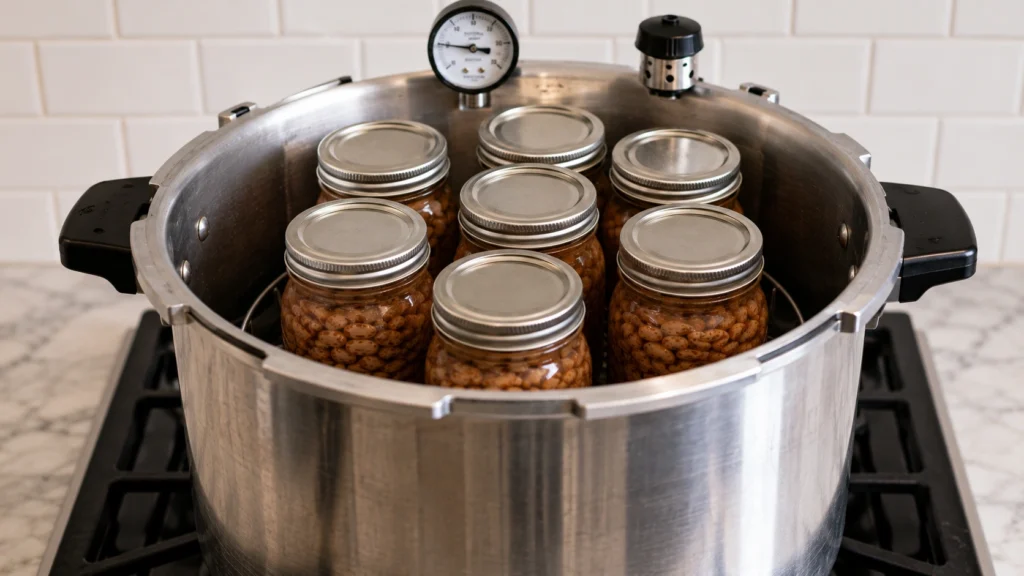
Step 6: Pressure Can the Beans
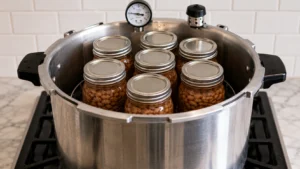
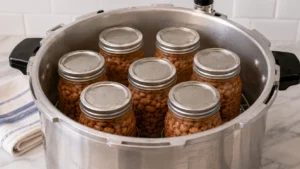
Place the filled jars into the pressure canner following the manufacturer’s instructions.
Process according to the size of the jars:
| Jar Size | Processing Time |
|---|---|
| Pint | 75 minutes |
| Quart | 90 minutes |
Use the pressure appropriate for your canner type and altitude. Always follow your pressure canner’s instructions and adjust pressure if you live at higher elevations.
Step 7: Cool the Jars
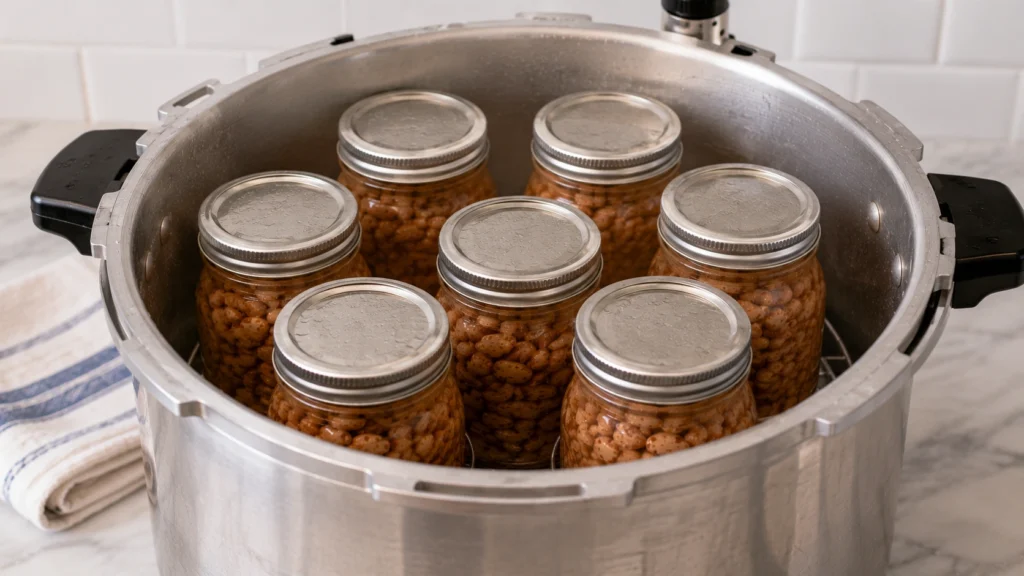
Once processing is complete:
- Turn off the heat.
- Allow the canner to depressurize naturally.
- Carefully remove the jars.
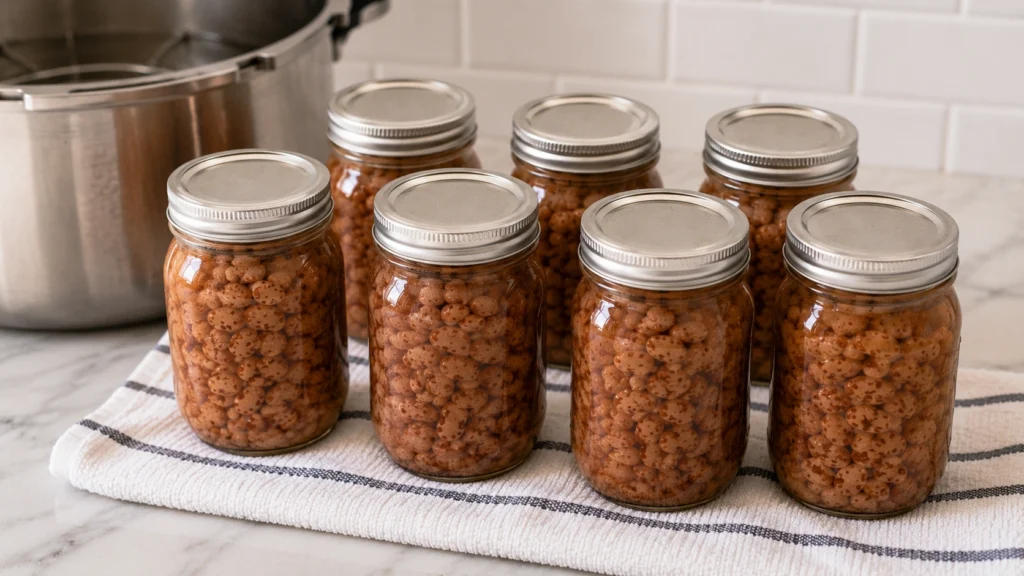
- Place them on a towel.
- Let them cool undisturbed for 12 to 24 hours.
Step 8: Check the Seals
After the jars have cooled:
- Remove the screw bands.
- Press the center of each lid.
- Properly sealed lids will not flex up and down.
- Refrigerate any jars that did not seal and use them within a few days.
Storage Tips
Store sealed jars in a cool, dark, and dry location.
For the best quality, use home-canned pinto beans within one year, although properly sealed jars may remain safe longer if stored under ideal conditions.
Serving Ideas
Home-canned pinto beans are incredibly versatile. Try them in:
- Chili
- Bean soup
- Burritos
- Tacos
- Rice bowls
- Refried beans
- Bean salads
- Casseroles
Simply drain and rinse if desired, then use them just as you would store-bought canned beans.
Safety Tips
- Never use a water bath canner for pinto beans.
- Use only jars specifically made for home canning.
- Inspect jars for cracks or chips before use.
- Discard any jar with an unsealed lid, unusual odor, mold, or signs of spoilage.
- Follow tested pressure canning guidelines for your specific canner and adjust for altitude when necessary.
Nutrition Information
The following nutrition information is approximate for 1/2 cup (about 130 g) of home-canned pinto beans, prepared without added fat.
| Nutrient | Amount per Serving |
|---|---|
| Calories | 120 |
| Protein | 8 g |
| Carbohydrates | 22 g |
| Dietary Fiber | 7 g |
| Total Fat | 0.5 g |
| Saturated Fat | 0.1 g |
| Cholesterol | 0 mg |
| Sodium | 5 mg* |
| Potassium | 430 mg |
| Iron | 2 mg |
| Calcium | 40 mg |
| Folate | 145 mcg |
*Note: Sodium content is based on beans canned without added salt. If you add canning salt, the sodium level will be higher.
My Experience
I’ve found that canning pinto beans recipe is a great way to save time and always have a healthy ingredient ready for quick meals. The beans come out tender, flavorful, and work perfectly in soups, chili, burritos, and salads.
I also prefer canning them with little or no salt, which gives me more control over the seasoning when cooking. Once you try home-canned pinto beans, they’re a convenient pantry staple you’ll likely use often.
Frequently Asked Questions
Can I skip soaking the beans?
Soaking is strongly recommended because it helps hydrate the beans, promotes even cooking, and improves the quality of the finished product.
Can I season the beans before canning?
It is best to keep seasonings simple. Salt is optional, but avoid adding butter, flour, dairy products, or thickening agents before canning. Fresh onions, garlic, peppers, or meats should only be added when following a tested canning recipe.
How long do home-canned pinto beans last?
For the best flavor and texture, enjoy them within one year. Properly sealed jars stored in a cool, dry place often remain safe beyond that time, but quality gradually declines.
Can I use different types of dried beans with this method?
Yes, this pressure canning method can be used for many dried beans, such as black beans, kidney beans, navy beans, and great northern beans. However, processing times and preparation methods should always follow tested canning guidelines for each type of bean.
Do I need to rinse home-canned pinto beans before using them?
Rinsing is optional. If you want to reduce the sodium content or remove some of the canning liquid, simply drain and rinse the beans before adding them to your recipe. Otherwise, you can use both the beans and the liquid in soups, stews, and other dishes for extra flavor.
Conclusion
Canning pinto beans recipe at home is a rewarding way to stock your pantry with nutritious, ready-to-use ingredients. With the right equipment and safe pressure canning practices, you can enjoy flavorful beans whenever you need them while saving money and reducing reliance on commercially canned products.
Whether you’re preparing a hearty chili, a comforting soup, or a quick burrito filling, home-canned pinto beans make meal preparation easier and more convenient.
Also try: Sicilian-Style Pizza Recipe
Canning Pinto Beans Recipe
Ingredients
Equipment
Method
- Spread the dried beans on a tray and remove any stones, damaged beans, or debris. Rinse the beans thoroughly under cold running water until the water runs clear.
- Choose one of these soaking methods.
- Overnight Soak
- Cover the beans with plenty of water and let them soak for 12 to 18 hours. Drain and rinse before cooking.
- Quick Soak
- Place the beans in a large pot and cover with water. Bring to a boil for 2 minutes, remove from the heat, cover, and let stand for 1 hour. Drain and rinse.
- Return the soaked beans to a pot and cover with fresh water.
- Bring to a gentle boil and simmer for 30 minutes. Do not fully cook the beans, as they will continue cooking during the pressure canning process.
- Wash the jars in hot, soapy water and rinse well. Keep them warm until ready to fill.
- Simmer the lids according to the manufacturer’s instructions if required.
- Using a funnel, fill each jar with the partially cooked beans.
- Leave about 1 inch of headspace.
- Pour the hot cooking liquid over the beans, maintaining the same 1-inch headspace.
- If desired, add:
- ½ teaspoon canning salt to pint jars
- 1 teaspoon canning salt to quart jars
- Remove trapped air bubbles using a bubble remover or plastic utensil.
- Wipe the jar rims with a clean damp cloth and apply the lids and bands until fingertip tight.

- Place the filled jars into the pressure canner following the manufacturer’s instructions.
- Process according to the size of the jars:
- Jar Size Processing Time
- Pint 75 minutes
- Quart 90 minutes
- Use the pressure appropriate for your canner type and altitude. Always follow your pressure canner’s instructions and adjust pressure if you live at higher elevations.
- Once processing is complete:
- Turn off the heat.
- Allow the canner to depressurize naturally.
- Carefully remove the jars.
- Place them on a towel.
- Let them cool undisturbed for 12 to 24 hours.
- After the jars have cooled:
- Remove the screw bands.
- Press the center of each lid.
- Properly sealed lids will not flex up and down.
- Refrigerate any jars that did not seal and use them within a few days.